I’m going to share with you 20 amazing tips in this post that I collected from the most common mistakes, discoveries, and even questions my students have been making in my online school all this time.
I realized that those are amazing tips to share with everyone, and you know that I love to share useful things, so here we go:
20 things people learned from my courses and are VITAL to make in account for every paper-related craft you make ever. Are you ready?
TIP NUMBER ONE: Use photo paper instead of simple paper or cardstock to print.
It’s a very common mistake that people use cardstock to print and then, get so frustrated because the quality is not the best, the colors aren’t vibrant. I’m not saying that you can’t use it, you can do it. Actually, pastel colors can be printed in cardstock with no problem. But if you’re printing figures or backgrounds with vibrant or deep colors like red, yellow, black, or green, you’ll need to use photo paper, either glossy or matte.
Remember: Set your printer from your computer before using it to get the best quality of it.
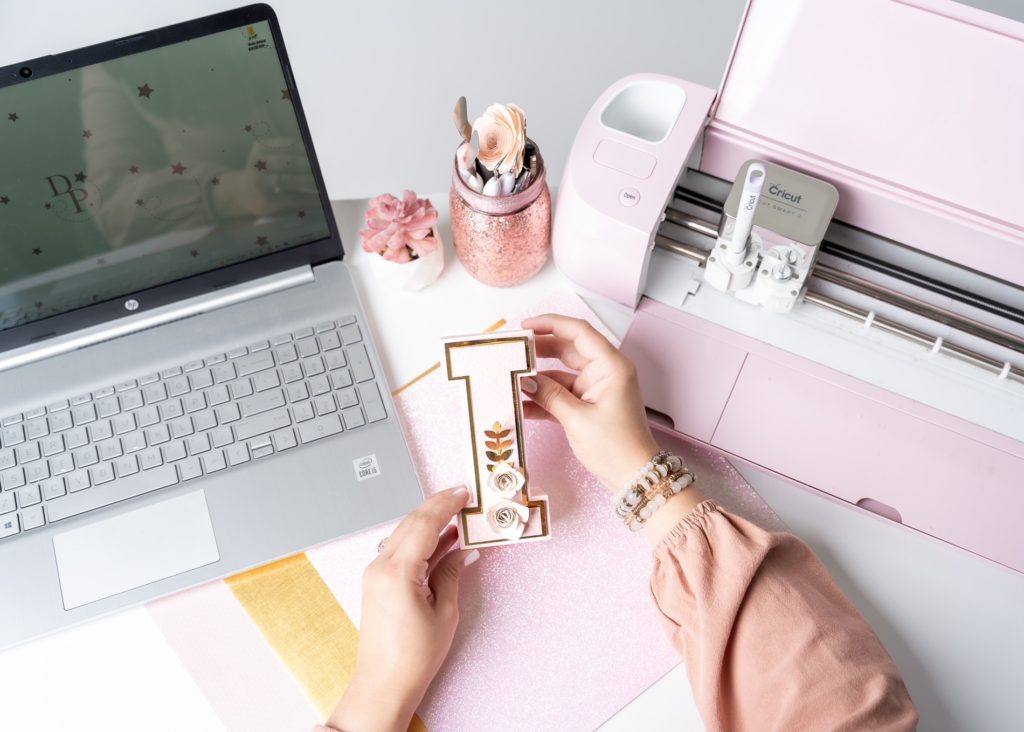
TIP NUMBER TWO: Use 65lb cardstock to build letters, papercrafts, or favor boxes, instead of 110lb.
This is a huge “PHEW” because I know is so hard to find a variety of colors in 110lb, and people say that is “best” to work with. I consider better the 65lb because is easy to find colors, is easy to handle and the finishing of the creations is way better.
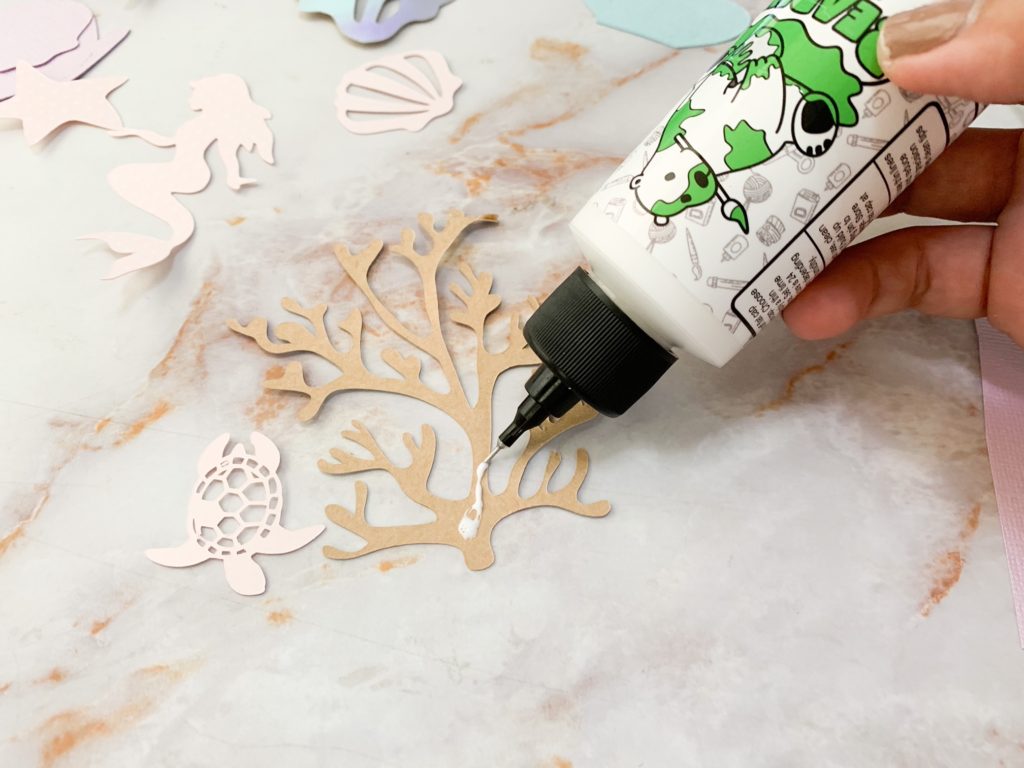
TIP NUMBER THREE: Use silicon glue instead of regular glue to build your creations.
Basically, because the silicon glue is made with alcohol and the regular glues with water so when you work with them the paper gets wet, so the finishing is not good.
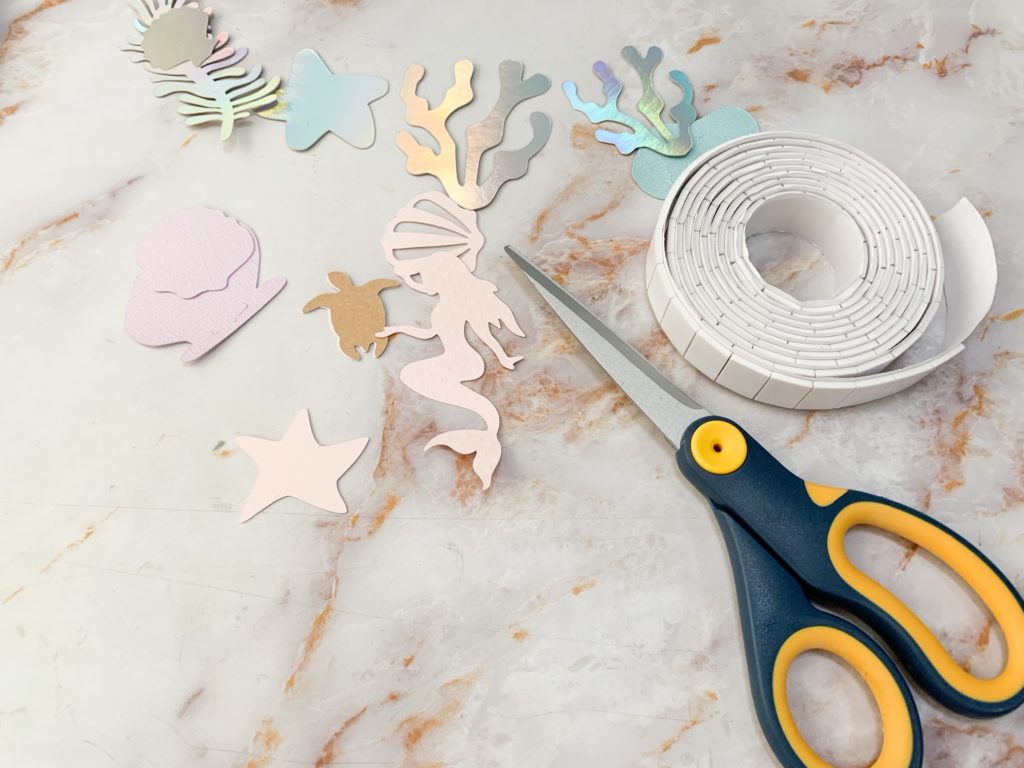
TIP NUMBER FOUR: Use double-sided foam tape to give to your creations that 3D effect we all love. Look at the picture to have an idea. Also, use the non-stick scissors to work better with them.
TIP NUMBER FIVE: The best glue to work with tiny pieces is the Bearly Arts one. If you want to check it out, click here. I use it when I definitely can’t use the double-sided foam tape. In pieces like this one.
TIP NUMBER SIX: This foil cardstock is A MUST if you want to give a special touch to your creations. The best of it is the price. $6 for 25 sheets of them IS A GIFT!
I buy it at Michaels and definitely love it. Check it out!
TIP NUMBER SEVEN: If you’re in the United States, I recommend you to know about the sales of Joann on the 12×12″ cardstock. They frequently have 10 sheets for $2 or 50% off. Check their Weekly Ad to stay tuned.
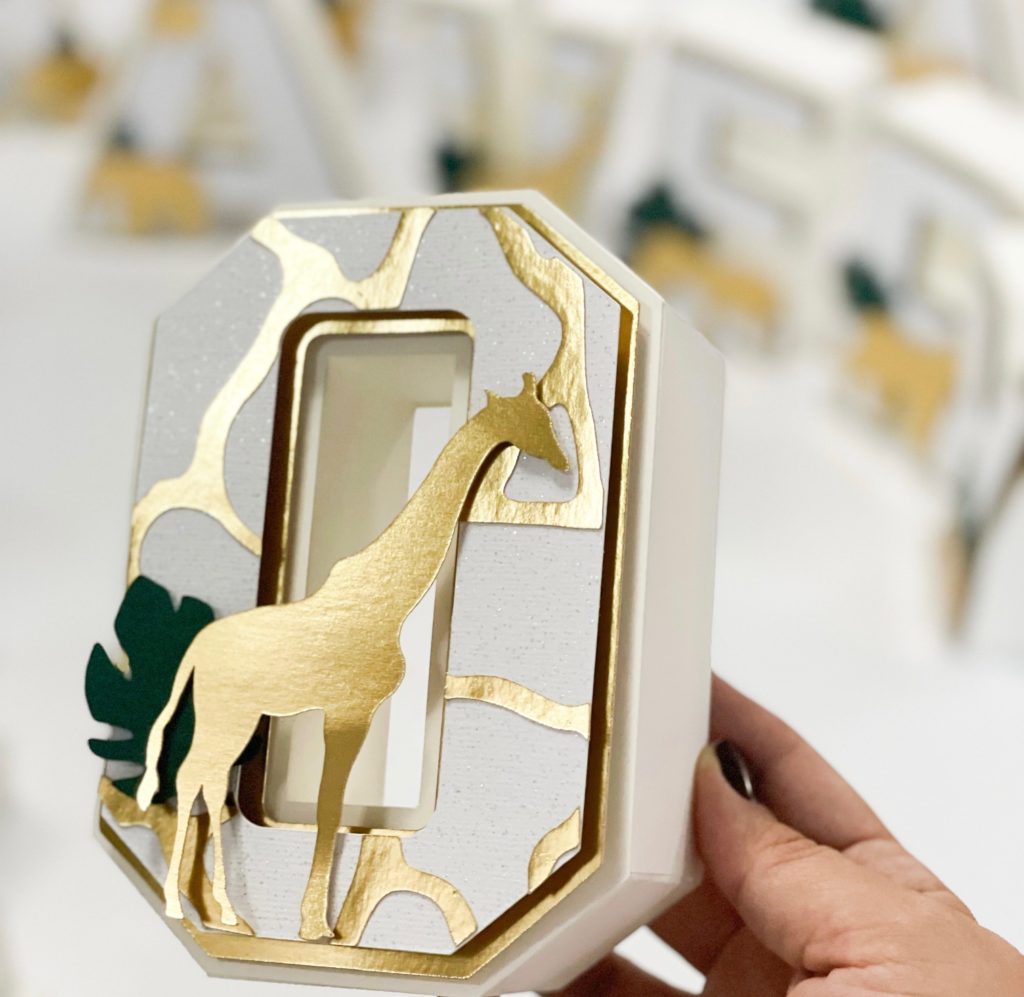
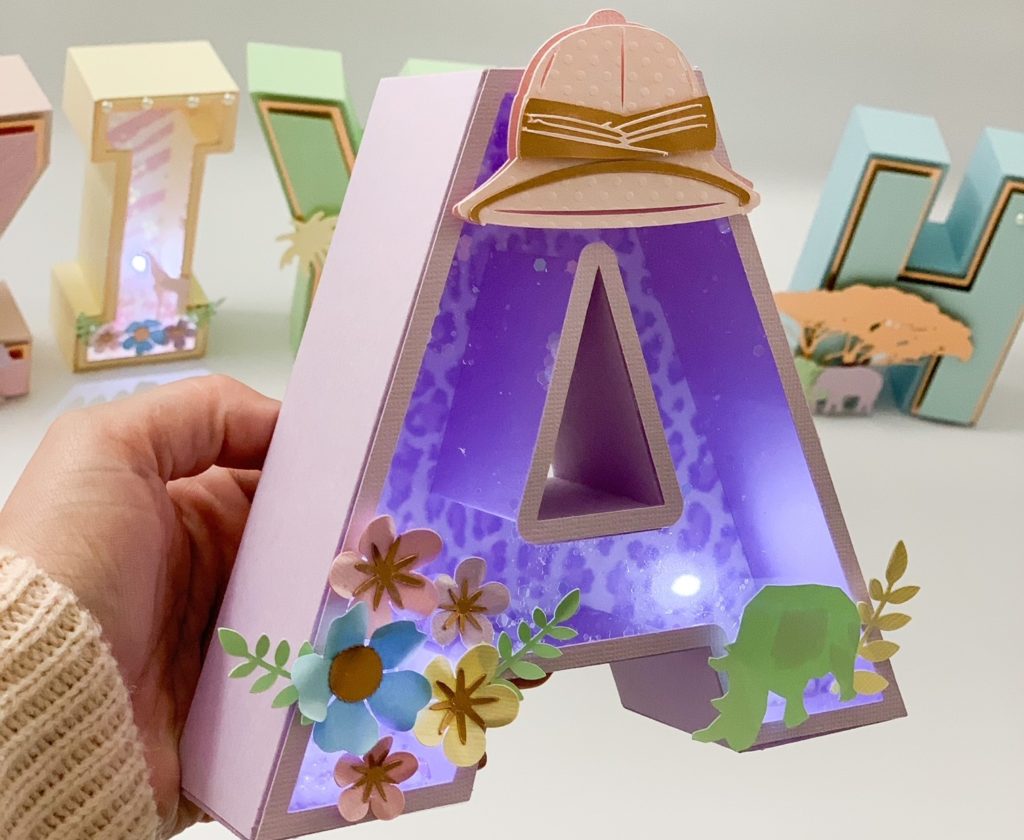
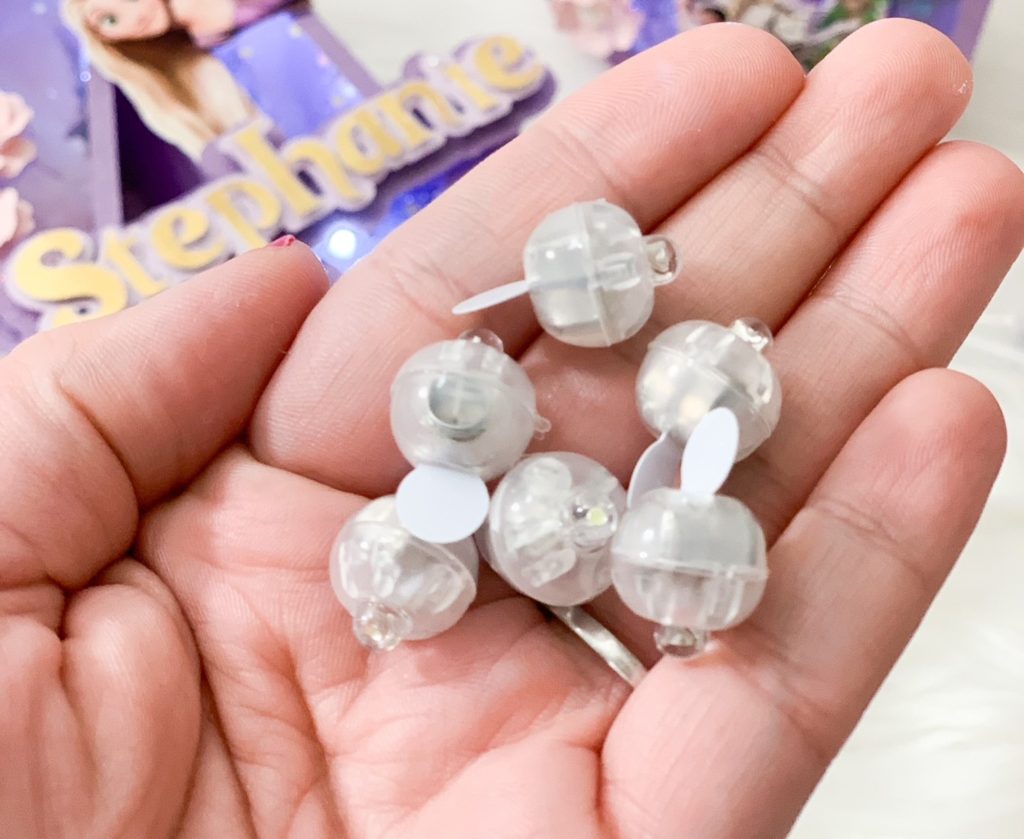
TIP NUMBER EIGHT: The light I use to do shaker 3D letters is this one, check it out here.
Look at the results 🙂
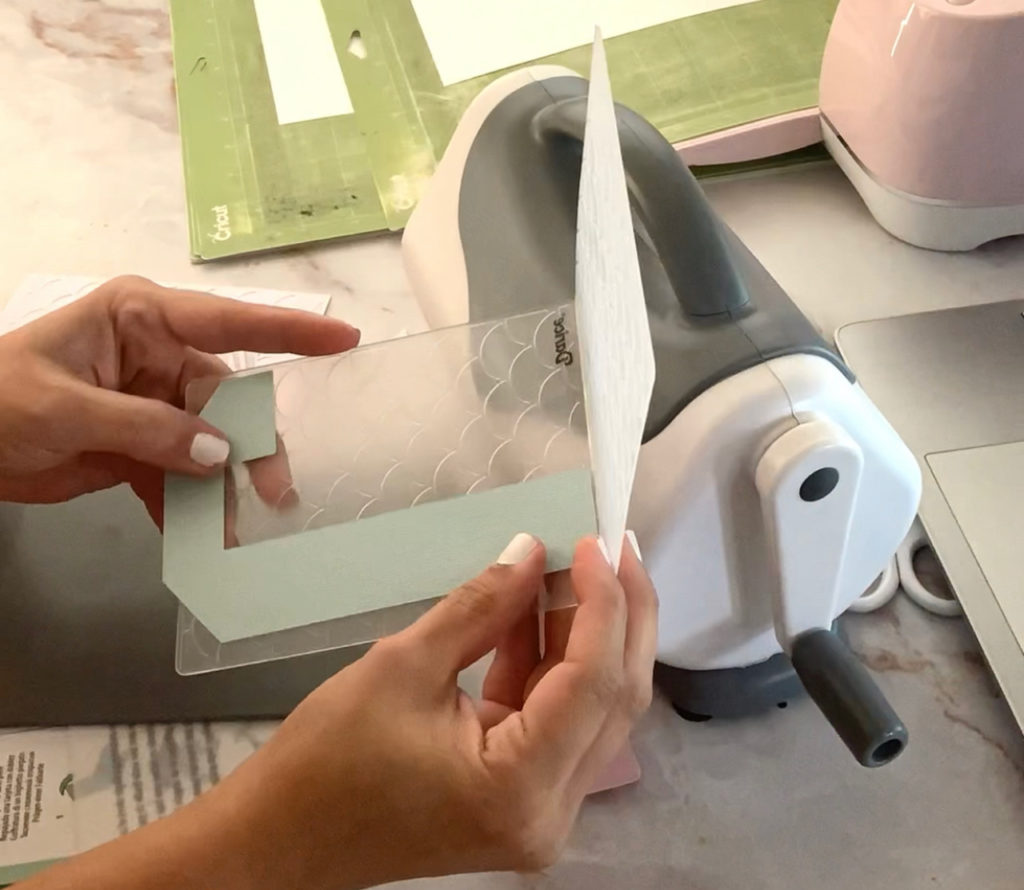
TIP NUMBER NINE: My favorite EVER embossing machine. The Sizzix, check it here. Hey you guys, the results are AMAZING when you use this machine to make your creations stand out. It’s super easy to use. Just take into account that you’ll have just 5×7″ of space to do anything. That’s a problem when you’re making big 3D letters 🙁 but still worth it!
TIP NUMBER TEN: Acetate. The best friend to do shakers. Seems like this is an obvious answer, but you can be impressed how many people don’t know about it. And, if you know about them, you still need to know which one is the best, so I’m going to leave here the one that I always use and love. Check here!
TIP NUMBER ELEVEN: Combine colors. Phew, this is THE thing. I know it’s hard to combine colors. But the good news is that, is one of the ways you’ll have to be different and stand out from others. If you’re doing this just for a hobby, this is what will make you feel so good once you finish. The trick is always to pay attention to the color palette of the theme you’re using and use the same colors.
Always combine pastel colors with pastel colors, strong colors with strong colors.
Try to keep your color palette just with 4-5 colors and use the degradation of those to help you combine better.
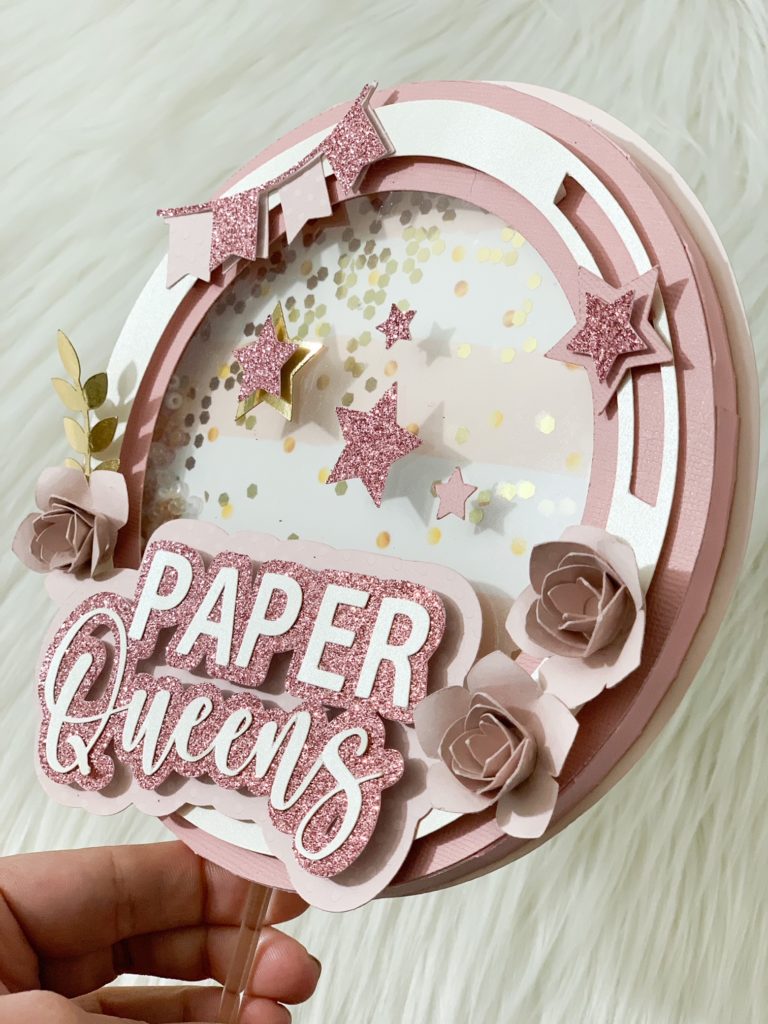
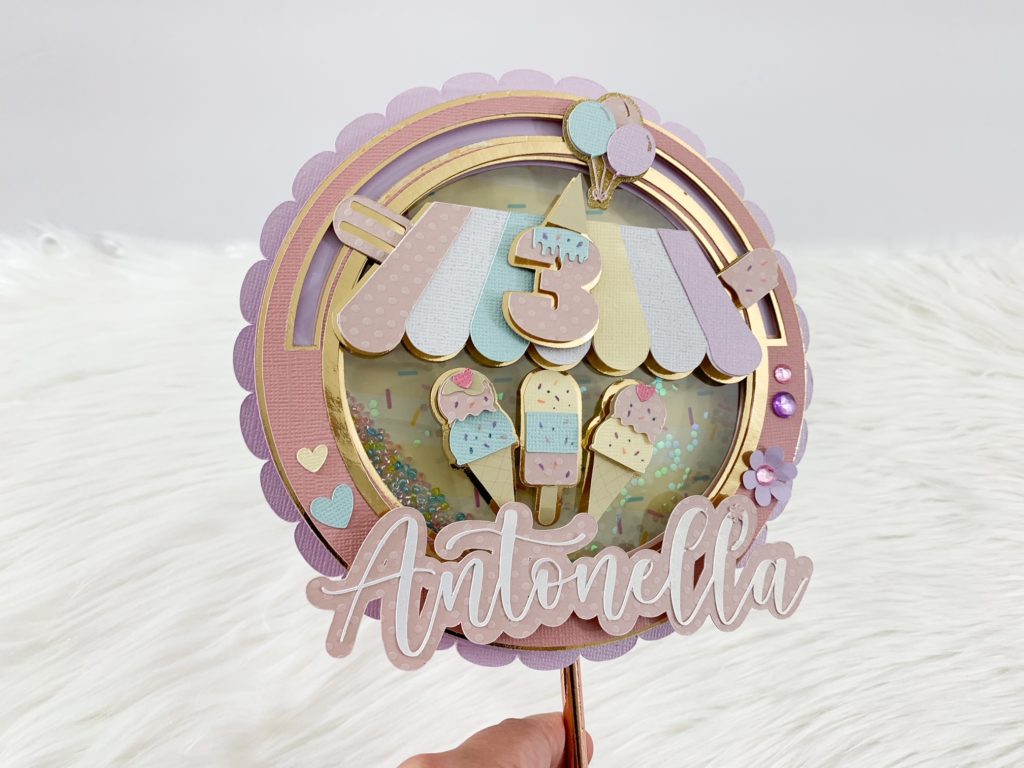
TIP NUMBER TWELVE: How to do offset (Silhouette and Cricut). If you have any of those machines (this is not for those who don’t have machines), you’ll want to do offset to your creations. This cake topper has a lot of offsets. The shadow behind the name and the ice creams is what I call “Offset”. Both programs have it and it’s so easy to do. Just look at the “offset” option in your program and adjust it.
TIP NUMBER THIRTEEN: Glitter to fill the shakers, cake toppers, favor boxes or shaker 3D letters. Where to buy it? Well, there are so many places. One of the ones that I love the most is the @gidadesign (Instagram), Hobby Lobby has a lot of options (sequins, beads, chunky, and glitter). I love to check the bracelets section at the stores because there are a lot of options there too.
TIP NUMBER FOURTEEN: How to clean the mats: As you see through this post, I’m talking for those who have cutting machines but don’t feel bad if you don’t have one. I like to clean my mats to make them last longer using a sponge, soap, and spatula. I wash them and then restick them with this amazing repositionable glue.
TIP NUMBER FIFTEEN: I like to download fonts from dafont.com to do my creations, they have a lot of types and it’s so easy to download.
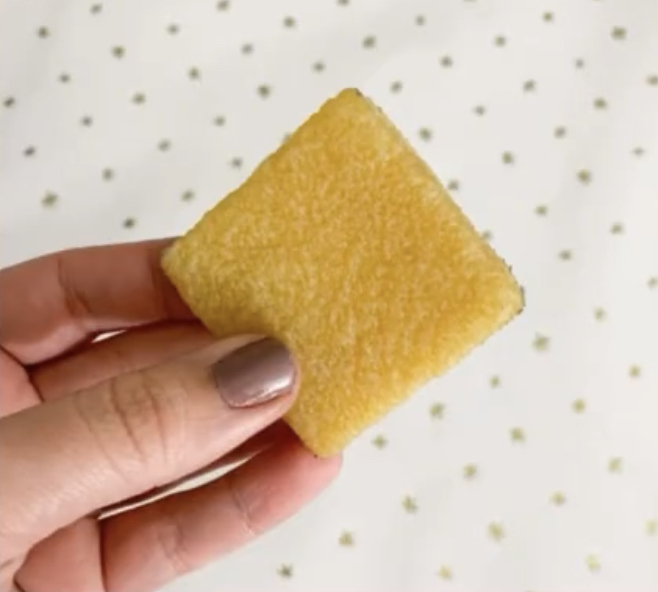
TIP NUMBER SIXTEEN: Glue eraser. This, you guys, is a life saver. When we’re gluing things always we make the mistake of spreading the glue where we don’t want to. I know, it’s so frustrating. But not anymore if you have this little square in your life. I find it at Dollar Tree or Hobby Lobby. This is the link
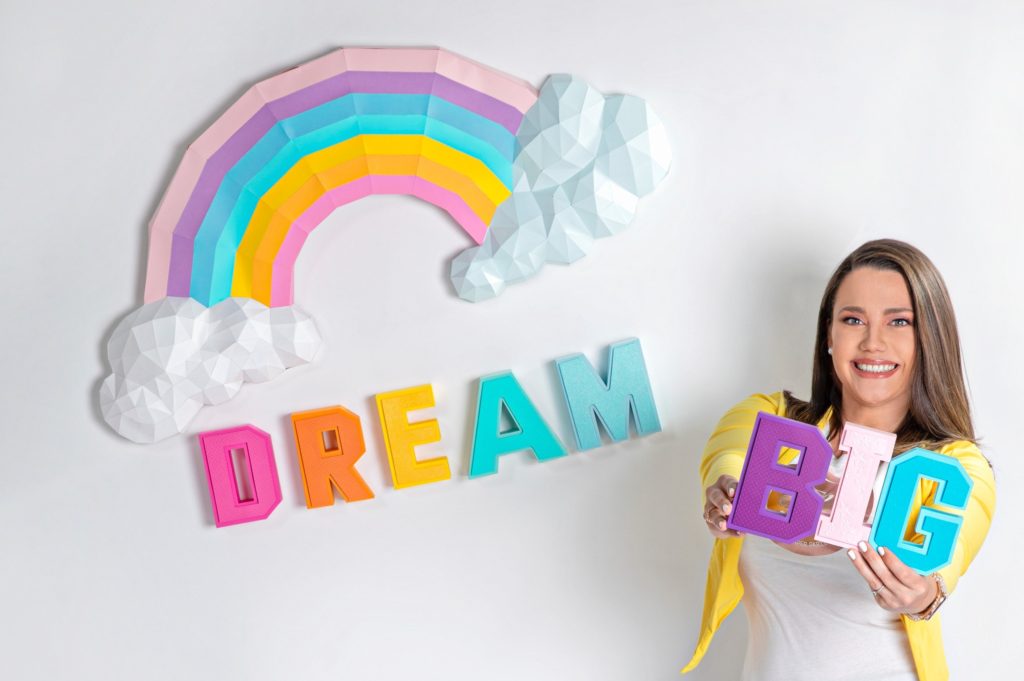
TIP NUMBER SEVENTEEN: This is not a tip, this is a call, hahaha. These 3D figures are amazing. I love to add them to any birthday party, and also, as decor for my craft room.
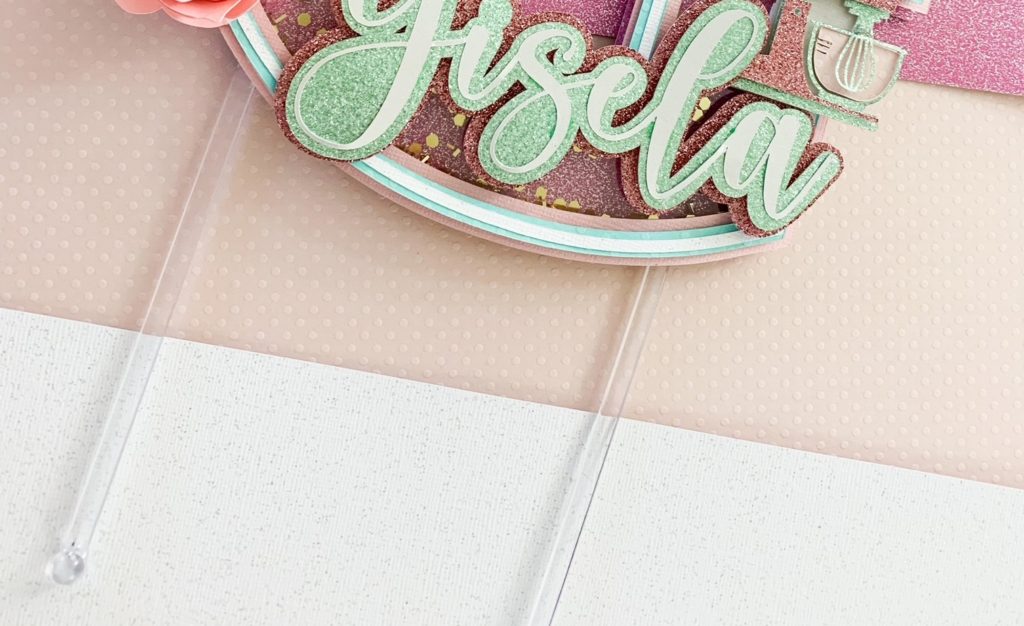
TIP NUMBER EIGHTEEN: These clear sticks are awesome to put in the back of the cake toppers. Glue them with hot glue or silicon. Find them here.
TIP NUMBER NINETEEN: Background for pictures. It’s not a professional way, but it works so well combined with the next tip. I know we don’t have so much budget to buy fancy things so this could be a piece of good advice.
I use two lamps of 100 watts bulbs and a cheap paper I buy at Hobby Lobby to take my pictures at home.
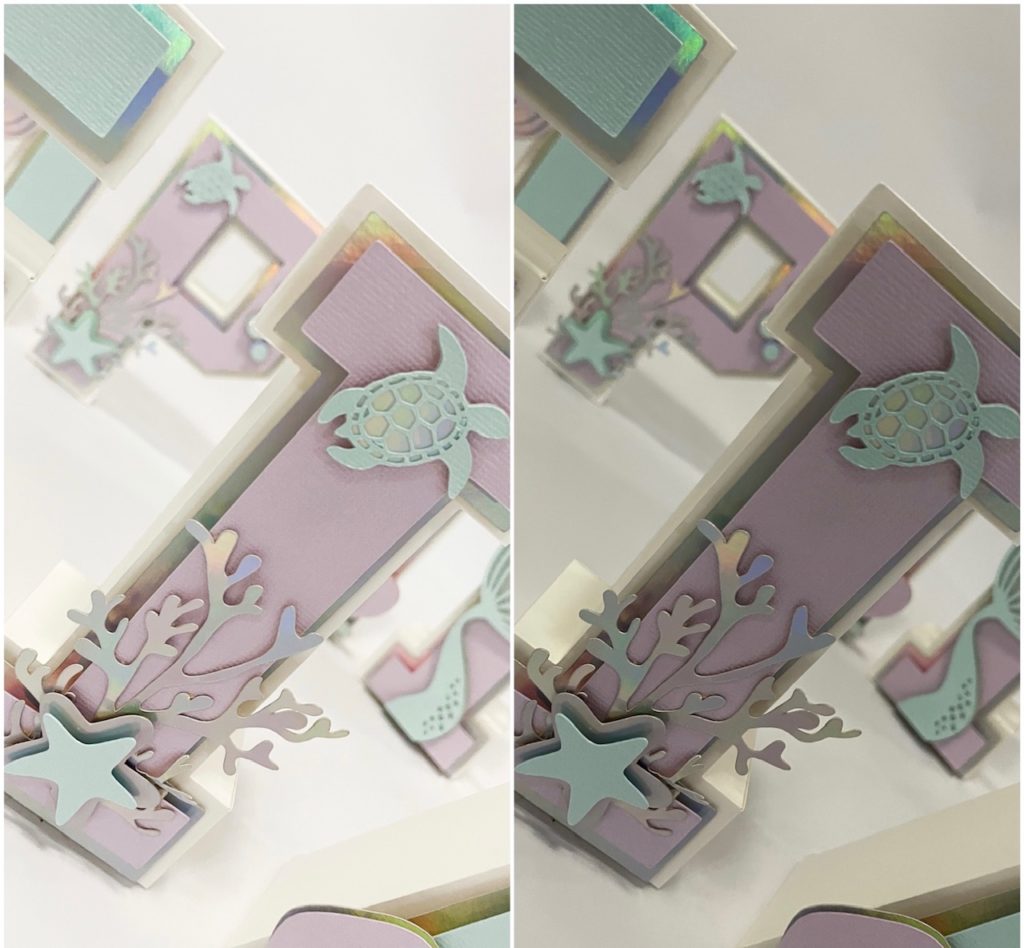
TIP NUMBER TWENTY: I love this app and so far, is the best for me to edit my photos. Lightroom for mobile is a free app, and with just two steps I convert my photos with the best quality. Check the picture to see the difference.
If you read all these tips, THANK YOU! I hope that helps next time you’ll be creating! Leave a “star” in my last post on Instagram to know you already are a PRO! And if you want to check out my online school to continue learning. All my courses are prerecorded lessons you can take at your own pace, from any place in the world, and the prices are amazing, here’s the direct link 🙂
We use cookies on our website to give you the most relevant experience by remembering your preferences and repeat visits. By clicking “Accept All”, you consent to the use of ALL the cookies. However, you may visit "Cookie Settings" to provide a controlled consent.
This website uses cookies to improve your experience while you navigate through the website. Out of these cookies, the cookies that are categorized as necessary are stored on your browser as they are essential for the working of basic functionalities of the website. We also use third-party cookies that help us analyze and understand how you use this website. These cookies will be stored in your browser only with your consent. You also have the option to opt-out of these cookies. But opting out of some of these cookies may have an effect on your browsing experience.
Necessary cookies are absolutely essential for the website to function properly. This category only includes cookies that ensures basic functionalities and security features of the website. These cookies do not store any personal information.
Any cookies that may not be particularly necessary for the website to function and is used specifically to collect user personal data via analytics, ads, other embedded contents are termed as non-necessary cookies. It is mandatory to procure user consent prior to running these cookies on your website.