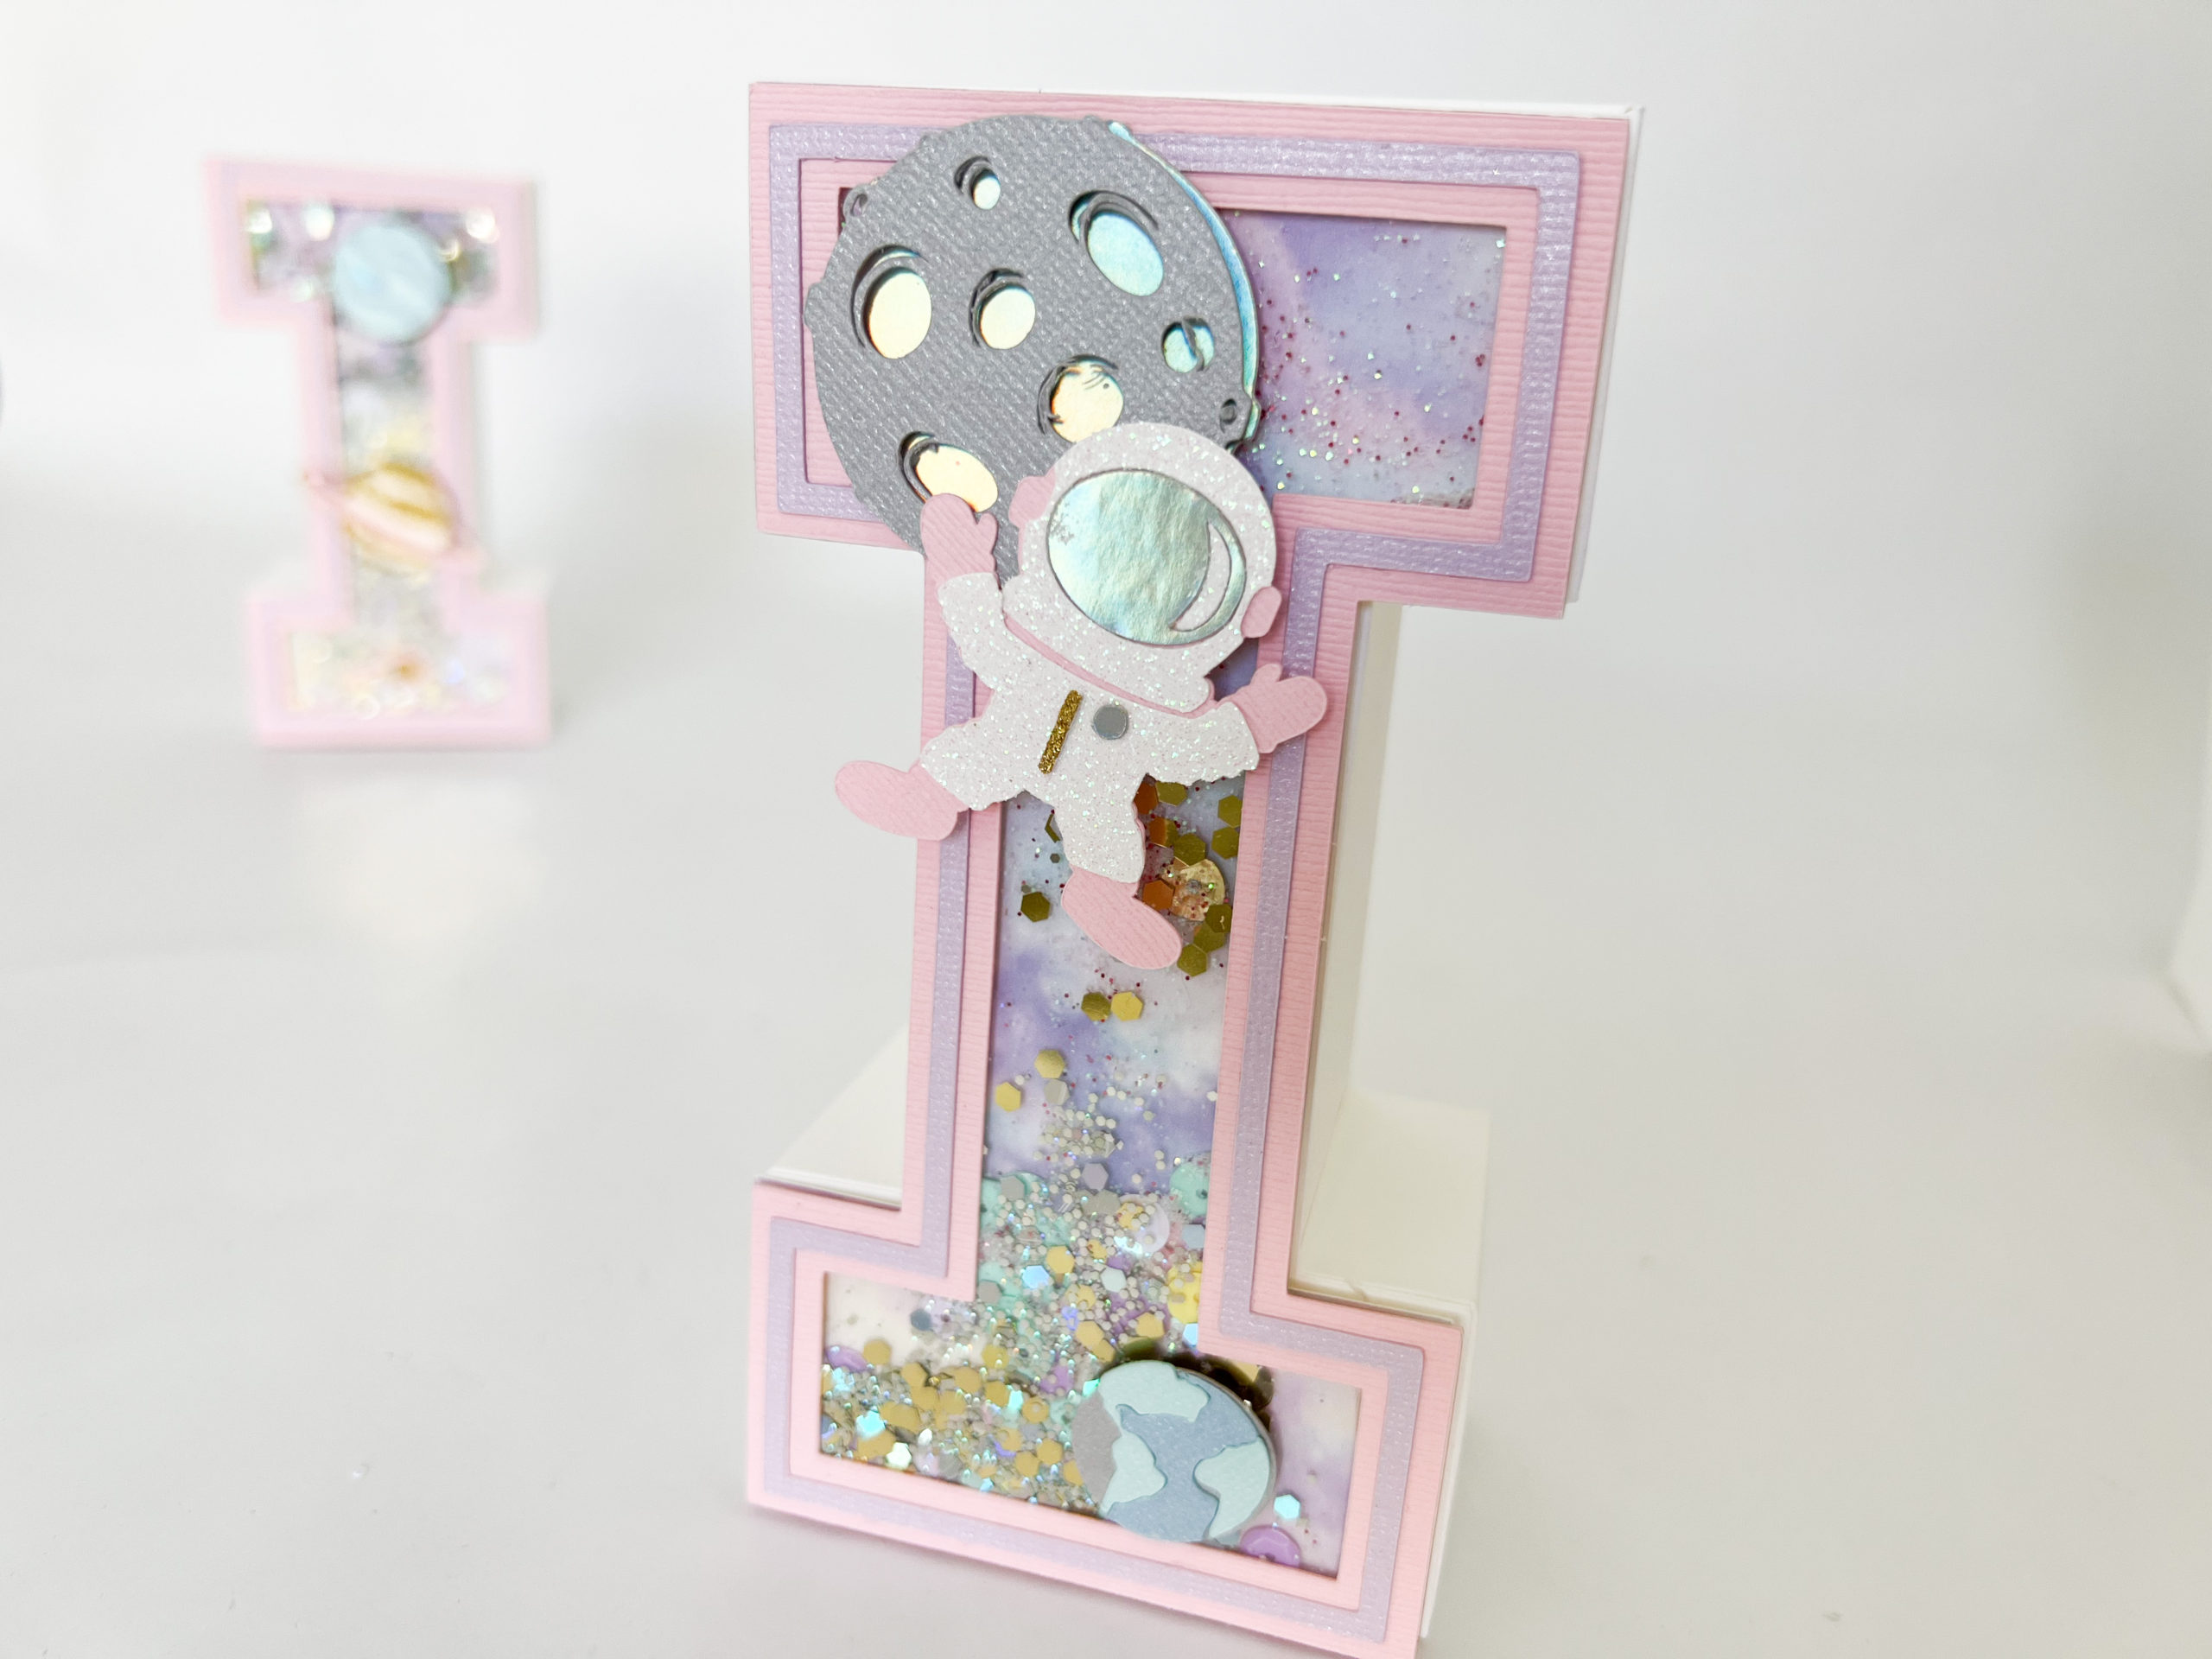
Isn’t amazing the infinite possibilities we have with the 3D letters? We can make it layered (which is actually my favorite, sorry!), or we can make it shaker in different ways, in this article, I want to show you how to do it with foam, which is for me, the easiest one. Because you’ll have to build the letter as usual, and then, instead of putting front layers on it, just follow the steps below.
If you want to know how to make 3D letters, check this article I wrote with 8 detailed steps to make 3D letters, I hope you enjoy it.
Ok, let’s start by giving you also the link to buy the template for the alphabet, which includes all the letters and numbers with all the pieces you’ll need to do this project, in case you want to make a shaker letter for your kids or any other person. Click here to buy it. (Use the code DOITPAPER to get 10% off)
The First Step to making a shaker letter is to build the 3D letter, right? So, if you want to learn how to do it, go to the article I mentioned before, where I explain how to do it. If you already know how to do it, just continue reading.
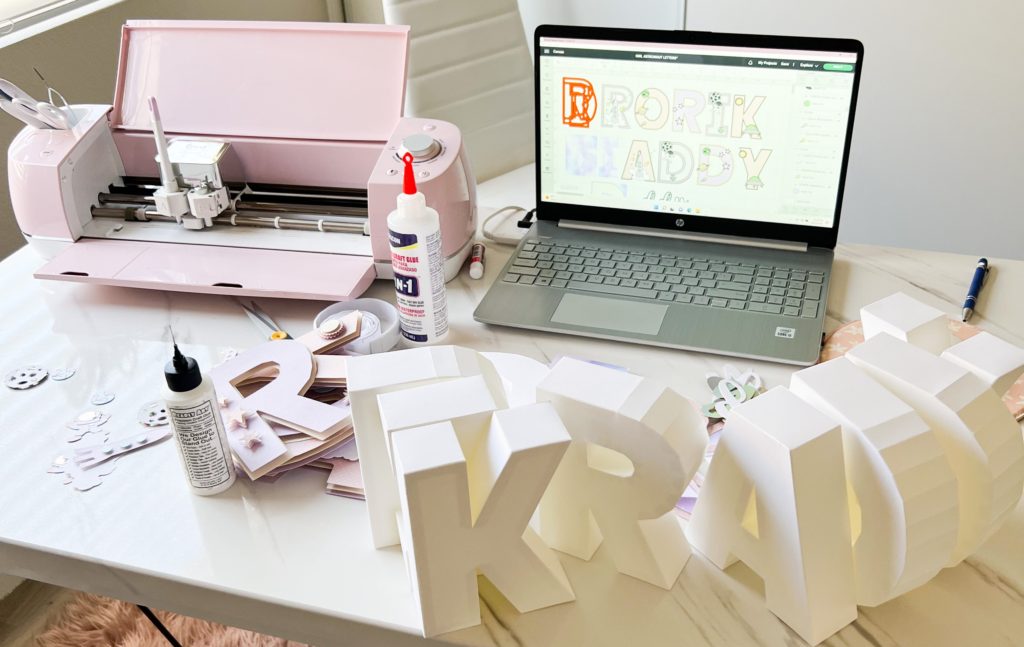
The Second Step will be of course designing what you want to do on them, to have an idea of exactly the colors you want to use and the elements you want to put on them. You’ll need the background to decorate your letter o just simply put a plain cardstock or use a printed one.
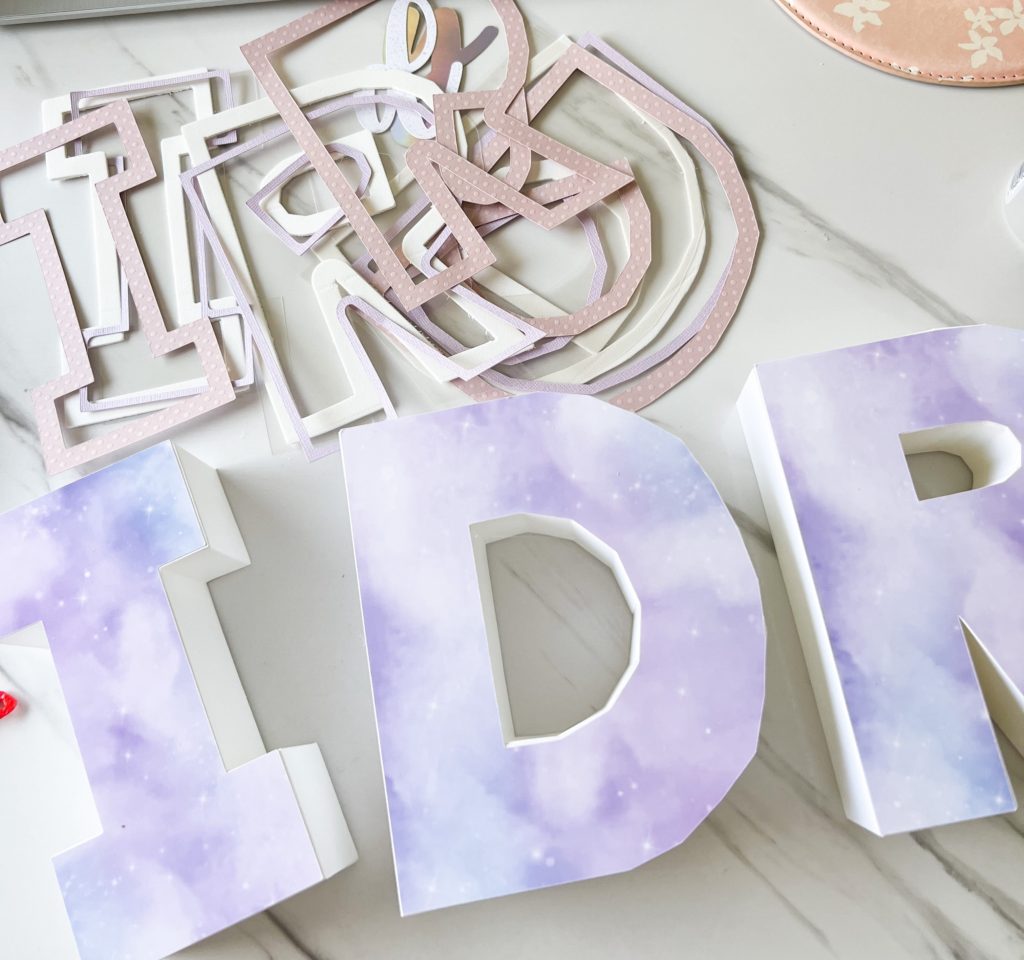
The Third Step is to cut all the pieces you’ll need to assemble this front part. You’ll need the frame, the acetate, the background, and the foam part (which is the same frame).
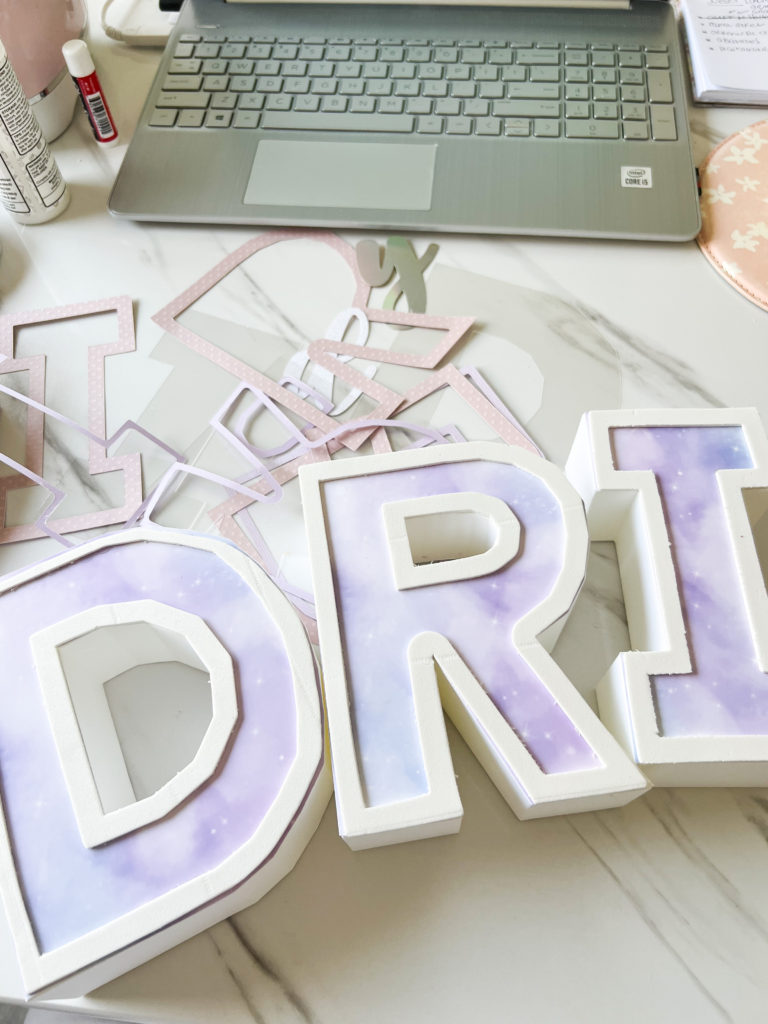
The Fourth Step will be gluing the background directly to the letter. Like this:
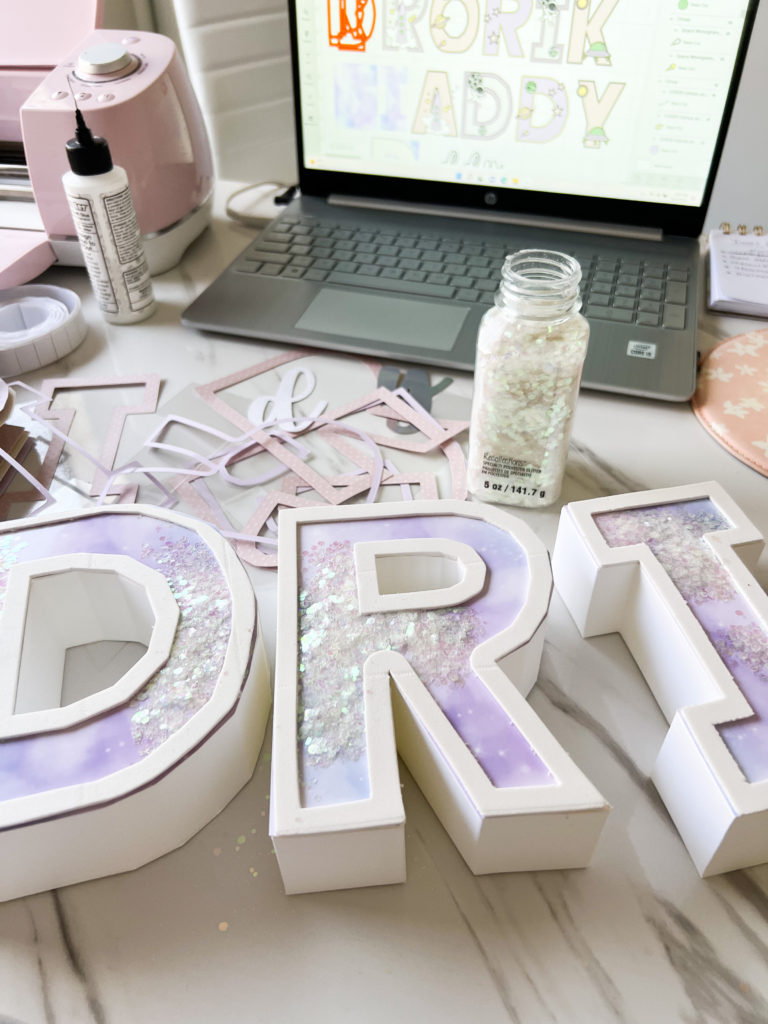
The Fifth Step will be to glue the foam part on the letters, I use the Beacon 3-1 glue for this.
Then, The Sixth Step is to fill this with chunky glitter. I buy it at Michaels or Hobby Lobby.
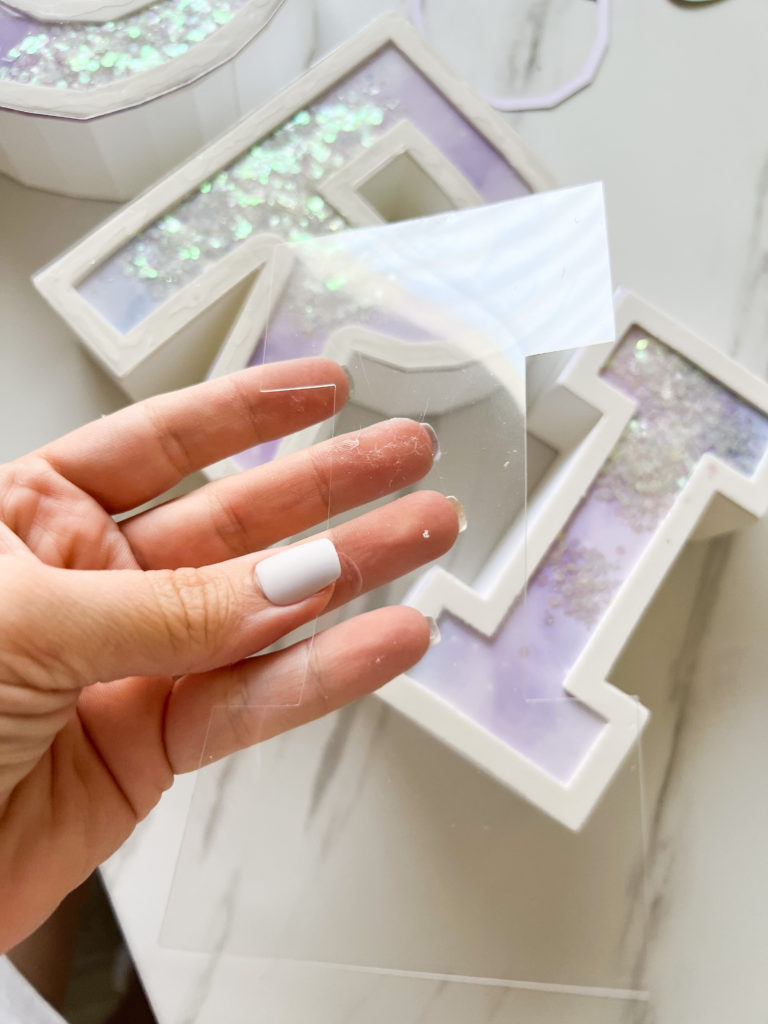
The Seventh Step is to glue the acetate in the front, you can choose to glue just the acetate or glue the frame into the acetate and then glue all of this into the foam, again with the Beacon 3-1 glue.
The Eighth Step will be to glue the frames in case you haven’t glued them yet.
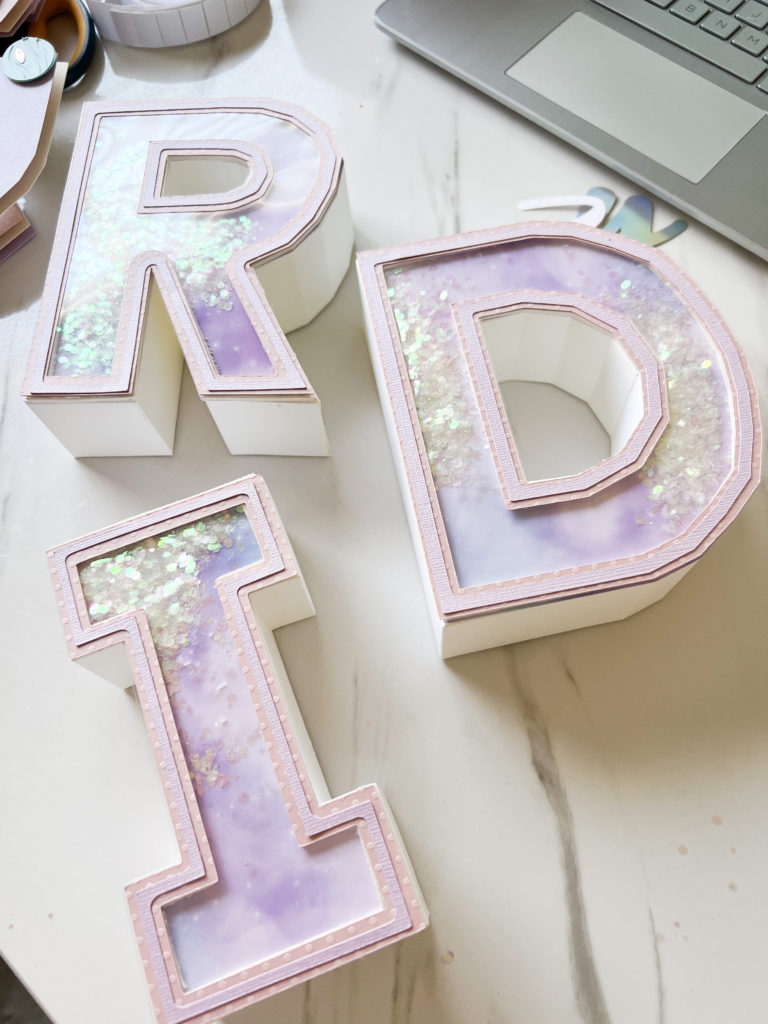
The Final Step is to decorate and enjoy 🙂